Plastic injection molding is based on the idea of subjecting plastic material to heat, whereby it is then melted, forced into a pressure mold, allowed to cool until solid, and then removed.
We will then describe the process of plastic injection molding in this article step-by-step, starting with the planning phase, tooling, trial production, mass production, and delivery.
It is possible that by the end of this article, you will have a clear idea of how a full injection molding project is conducted in the real production sphere, what is occurring in each of the steps, and what can influence quality, consistency, and manufacturability. When assessing suppliers or addressing a new project, it may also assist the buyer in a more effective way, as the process influences the quality of parts, manufacturing stability, and manufacturability in general.
1. The Plastic Injection Molding Process: Step by Step
The injection molding process starts with a clear definition of the part requirements since they actually determine the choice of the material to be used, the design of the mold, and the production parameters.
1) Step 1: Understanding the Part Requirements
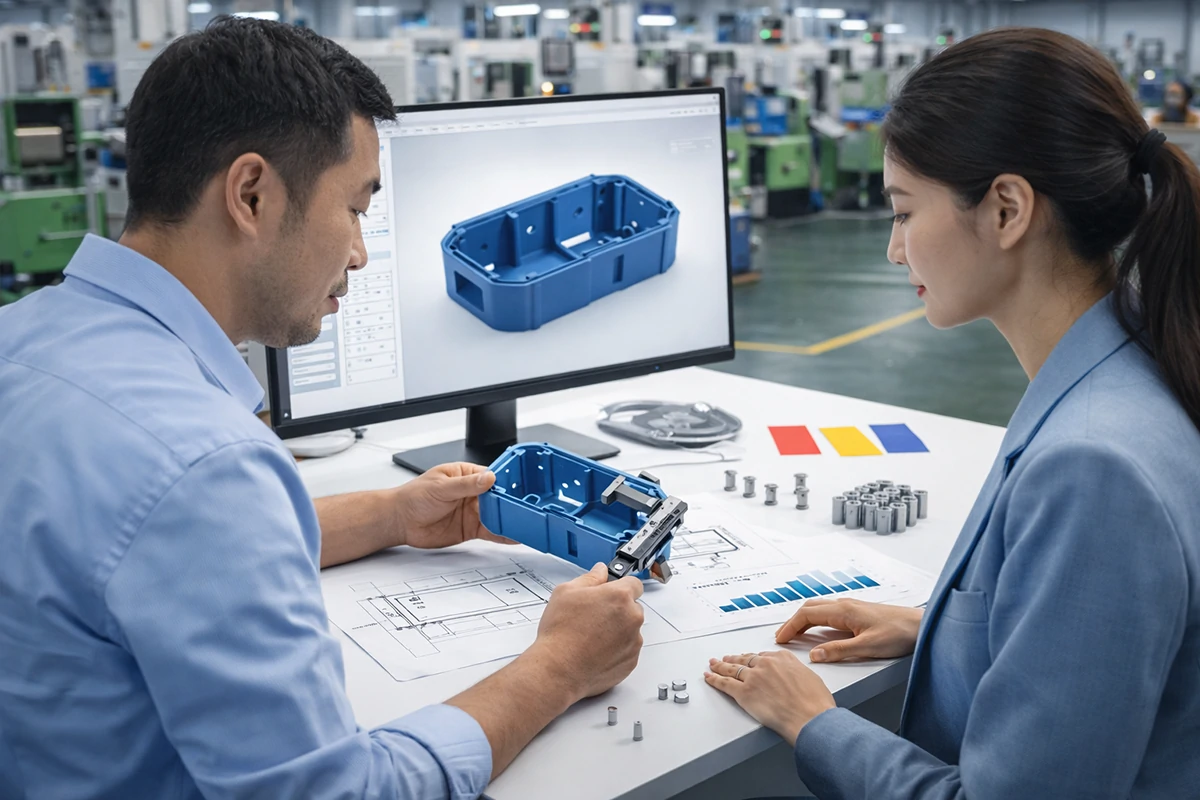
The part is the beginning of every injection molding project. The manufacturer must know what the part is to do, where to be used, and what the part must be able to accomplish before any mold is built or any machine is set up.
It normally covers the role of the part, dimension, tolerance expectation, aesthetic expectations, mechanical performance, color, relationship with assembly, and the volume of production that is expected. These considerations are important as they directly influence the choice of material, mold design, cavity layout, and the method to be used in future production. A part that is intended to house appearance will often be treated differently from a part intended to carry a load or be an internal structural part.
At this level, you tend to give a 2d drawing, 3d model, a sample, and a combination of the three. The clearer the input, the less expensive it will be to make changes in the future. In our case, there are a lot of production issues that do not start on the shop floor. They start way earlier when the starting requirements are not yet finished or unclear.
2) Step 2: Reviewing the Part Design for Injection Molding
After establishing the part requirements, the next thing to do is to check whether the design is to be injection molded.
One of the parts might appear to be right when examined in terms of the product design, yet requires modification before efficient molding can be achieved. Best practices areas that should be reviewed are wall thickness, transition of thickness, and draft. ribs, bosses, undercuts, gate, location, and manner in which the part will be ejected from the mold. This is because these design aspects influence the range of melt flow, cooling, shrinkage, release of parts, and long-term stability of production.
That is why a good number of manufacturers conduct DFM review prior to the commencement of tooling. This is not to reconstruct your product because it is the thing to do. The objective is to determine characteristics that can complicate the process of molding, increase the cost of tooling, or generate unnecessary risks to quality throughout the manufacturing process. To the buyers, the stage is significant since a supplier who considers the manufacturability is most likely considering more than just the production of the first sample. They are also considering the possibility of being able to manufacture the part in a consistent manner in the future.
3) Step 3: Selecting the Plastic Material
Once the part design has been looked at, the material should be chosen.
The issue of material selection goes beyond the selection of a plastic that works. It concerns the synchronization of the resin with the actual requirements of the part. It could be strength, toughness, heat resistance, chemical resistance, dimensional stability, surface appearance, flame rating, food-contact requirements, UV resistance, or color performance. Meanwhile, the material must also be mouldable and cost-effective to the target cost.
Various plastics mold differently. They neither melt, flow, nor shrink nor solidify in the same fashion, and thus the choice of materials influences the manner in which the entire project is to be dealt with subsequently, such as the mold design, gate selection, temperature, and the cycling behavior.
Other projects may also require additional verification during this phase, e.g., reinforced grades, flame-retardant grades, medical resin, food-safe materials, or by brand name. In case a customer needs such requirements, then these requirements should be explained before tooling proceeds and not afterwards.
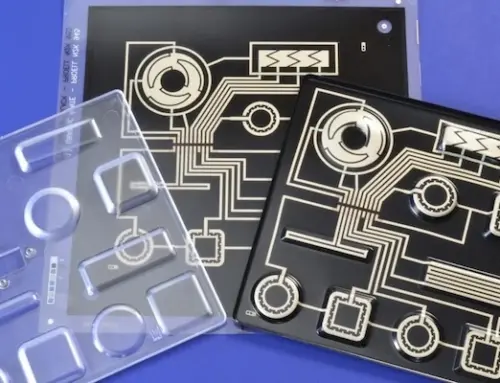
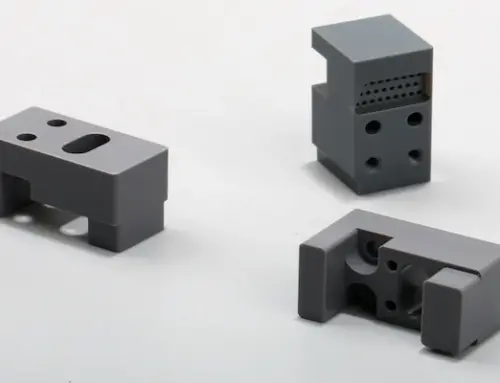
4) Step 4: Designing the Mold
After the part and material direction are verified, the design of the mould commences.
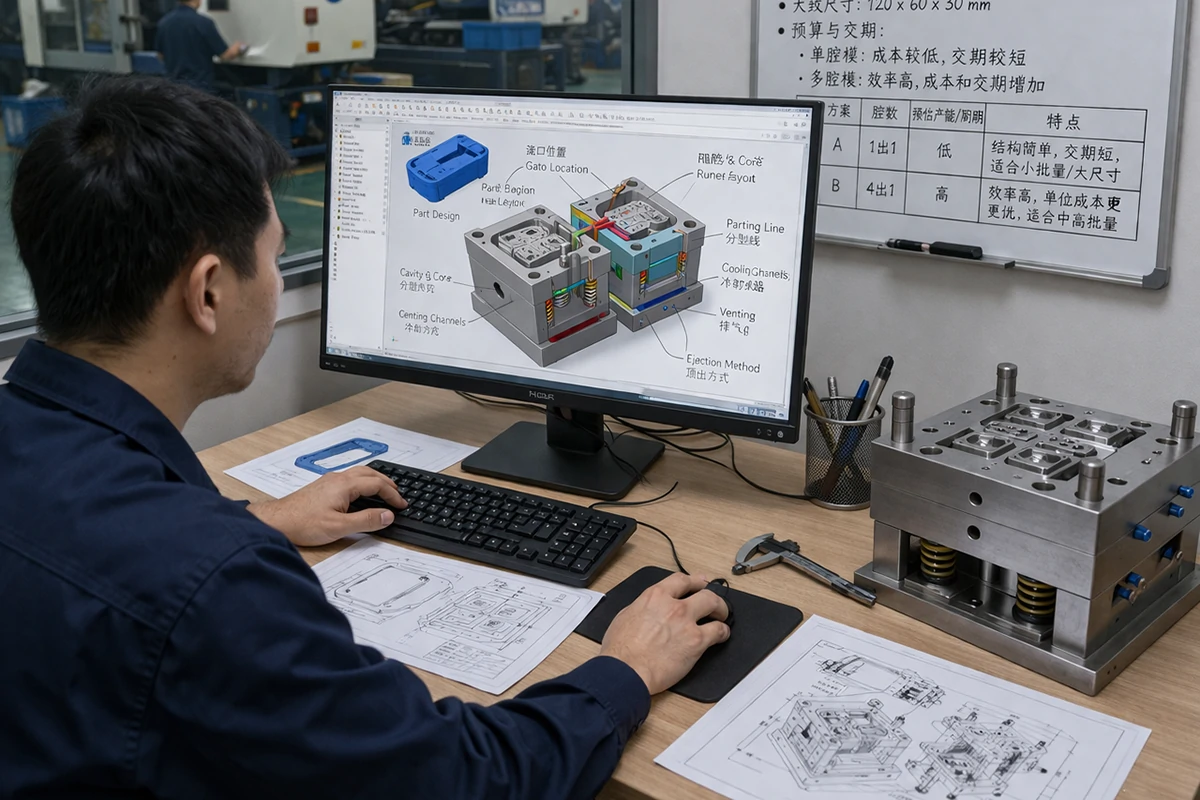
The mold provides the plastic with its final shape, and thus, this is one of the most critical stages of the entire injection molding process. Depending on the part design and the chosen material, the mold designer decides on the cavity structure, core structure, parting line, location of the gate, layout of runners, layout of cooling channels, venting, and method of ejection. These choices influence the manner in which the plastic fills the mold and also the manner in which the part will cool evenly, and the ease with which the part can be taken out of the mold.
Here cavity count is also determined. To illustrate, a project can be in a single-cavity mold when the volume is small or when a large part is to be manufactured, and when a high-volume production is considered to be valued by a multi-cavity mold to enhance the output per cycle. The decision taken is normally dependent on the annual volume, part size, tooling budget, and production target.
To the customers, this is the level at which lead time and tooling cost come into the limelight. A less complex mold tends to be faster and less expensive. A more complicated form can also be required, although it needs to be planned and executed more tightly.
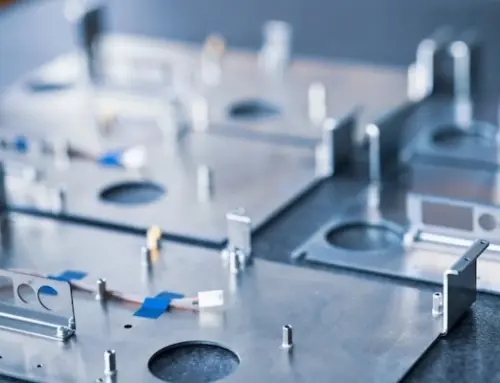
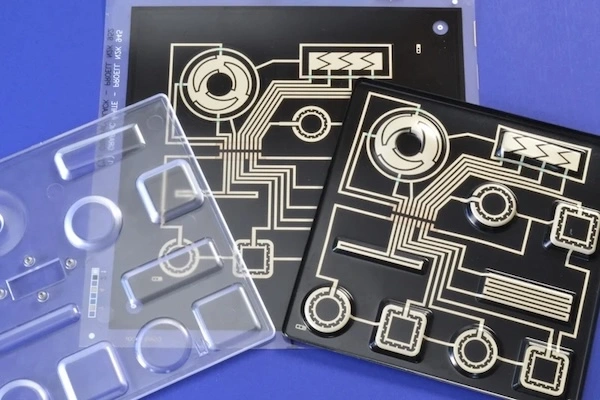
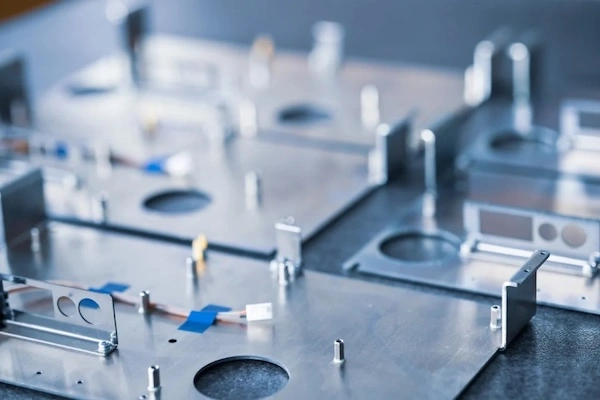
5) Step 5: Building and Assembling the Mold
Once the mold design is passed, the tool goes to manufacturing.
This step involves machining the mold parts, inserting where necessary, assembling the mold, and attaching all essential details. The mold is not a piece of metal with a hole cut in it. It is an effective production that has numerous synchronized parts such as the molding surfaces, guiding features, runner or gating parts, cooling channels, and the ejection system.
The quality of the mold constructed has little to nothing to do with the acceptability of the first part. It also influences the life of mould, process stability, frequency of maintenance, flash danger, stability of cooling, and long-run repeatability. This is the reason why skilled consumers tend to listen to not only the tooling cost as quoted, but also the quality of the mold, projected tool life, and the influence that the supplier imposes on the build process.
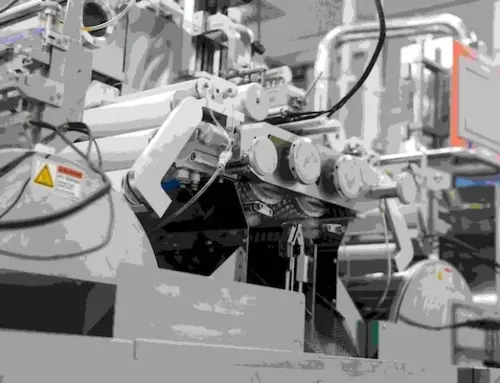
6) Step 6: Preparing for Trial Molding
After the construction of the mold, the project proceeds to set up and trial preparations.
The mold is placed in an injection molding machine and linked with the necessary utilities, particularly cooling. The plastic resin that has been chosen is ready, then it is loaded into the hopper, and where needed, the material is dried and then molded. Primary processing parameters are then established, such as melt temperature, mold temperature, injection rate, pressure, holding pressure, and cool-down time. These environments control the way the resin fills, loads, cools, and gets out of the mold.
This phase is significant since the trial molding is not a matter of guesswork. The machine requires a functional processing window in spite of the fact that the mold is well-designed. Practically, the initial configuration is the point of departure for the process fine-tuning, and not the ultimate decision.
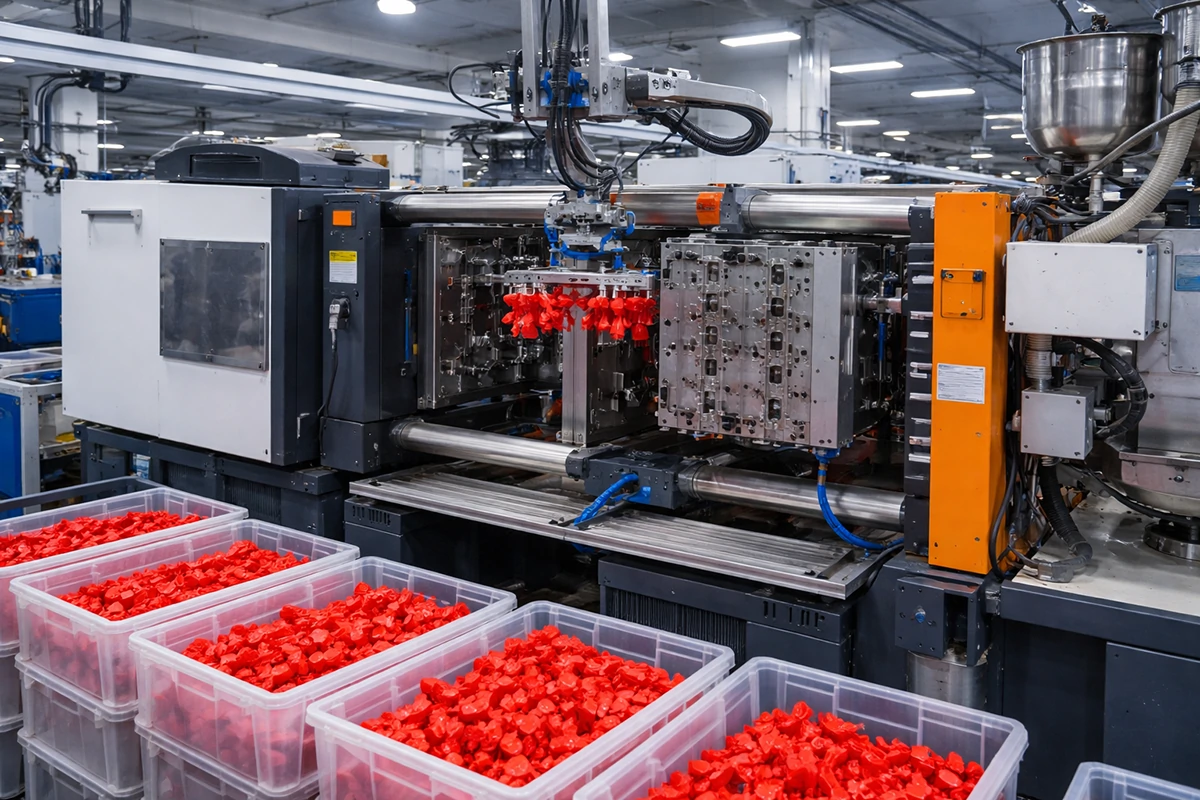
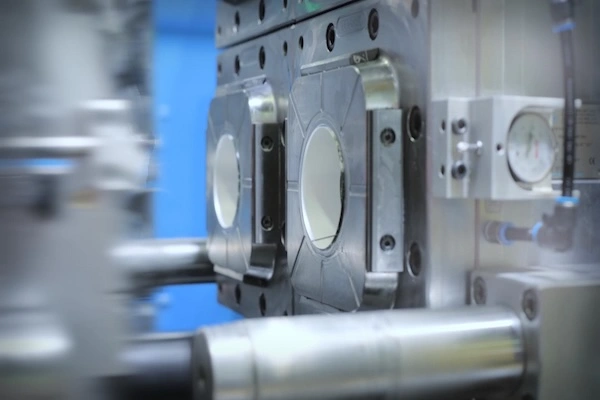
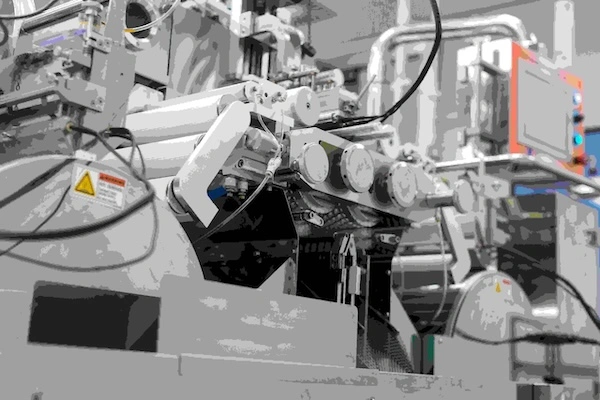
7) Step 7: Running the Injection Molding Cycle
As soon as it has been set, the actual molding cycle may commence.
Plastic pellets are fed into the machine through a hopper into the hot barrel. This material is melted and mixed together by pressure and heat and pressed into the closed mold cavity. Once filled, the machine provides holding pressure to fill the gap when the part starts cooling. The part is then left in the mold until it becomes hard enough to be demolded, then the part is removed by the ejection system, and the mold opens. The cycle then repeats.
This is the production cycle within the manufacturing, and in this article, it is simply one part of the entire process. In the larger project workflow, there are also design review, tooling, validation, production control, as well as finishing. This is the reason why two suppliers are capable of both running injection molding, but at the same time produce very different quality and consistency outcomes.
8) Step 8: Sampling, Testing, and Process Adjustment
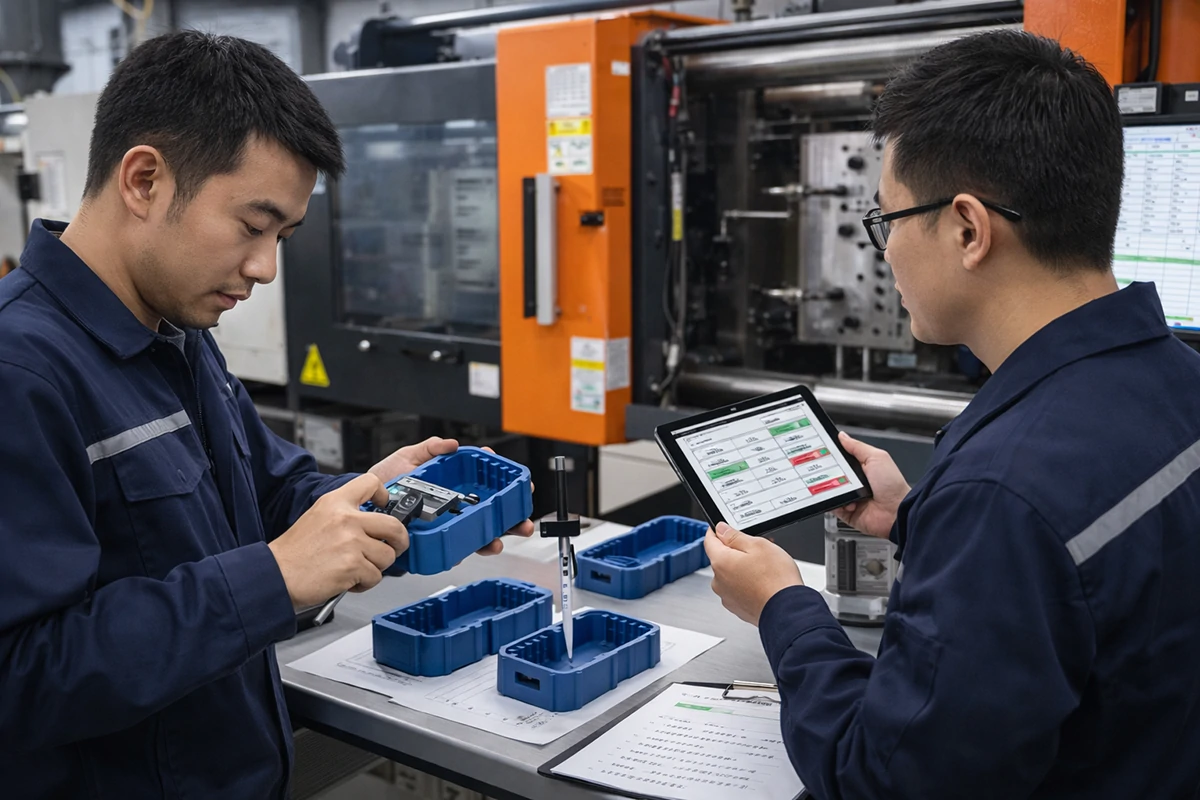
Once the initial molded units are made, they should be inspected.
This is the phase that typically involves an inspection of dimensions, appearance, fit, functionality, and any special needs of the customers. In case the parts fail to perform completely to expectations, a modification can be done to the process and, in some instances, to the mold as well. Adjustments to the process can be in temperature, pressure, speed, hold settings, or cooling time. Depending on the problem observed, the changes in the mold may include gate tuning, venting, modification of the steel, or optimizing ejection.
This step is one of the most feasible steps of the injection molding process in the real world. Hardly any projects can be taken directly out of the first trial into the ideal mass production without optimization. A competent supplier should also know what should be changed and why.
To buyers, this step tells a great deal about a supplier. Do they merely make samples, or are they diagnosing the process in an organized manner, as well? That difference matters.
9) Step 9: Sample Approval Before Mass Production
The approval of the parts sampled is normally required before full production begins.
This can be a dimensional confirmation, visual approval, assembly test, functional test, or formal sample submission process, depending on the project. The point is plain: to ensure that the molded part is acceptable prior to the project proceeding into repeated production.
It is a step that safeguards both parties. It provides the customer with a point of check before mass production and the supplier with a level to run on in the future. Once this is taken care of, there is much easier and less risky production decisions.
10) Step 10: Mass Production
After the samples have been approved, the project is transferred to mass production.
At this step, repeated molding cycles are done on the machine to give the required quantity. The results of injection molding are due to the stability of production because it is a cyclic process, and a stable range of the process is necessary. The consistency of materials, control of a machine, the state of a mold, and the ability to achieve stable results after the production of the same part all influence the possibility of repeating the process to produce the part with constant outcomes. References in the industries have uniformly defined injection molding as a repeatable process, which is appropriate in medium and high volume production when properly defined part geometry and tooling.
This is where supplier capability is very visible to the customers. It is one thing to come up with a few acceptable trial parts. It is another part to produce thousands of identical parts.
11) Step 11: In-Process Quality Control
Mass production cannot be regarded as a run-and-forget process.
The checks done on parts during production are normally in the form of dimensional checks, visual checks, and process control routines, depending on the product requirement. This is aimed at maintaining the output, detecting drift at its initial stage, and avoiding unnecessary batches of nonconforming components.
To put it in real-life terms, good production control will entail that the supplier is not waiting to see issues when it is too late in the form of a final shipment. Part consistency is being checked in the run. This is important to a buyer since production consistency does not happen because of luck. It is commonly due to everyday control.
12) Step 12: Secondary Operations and Finishing
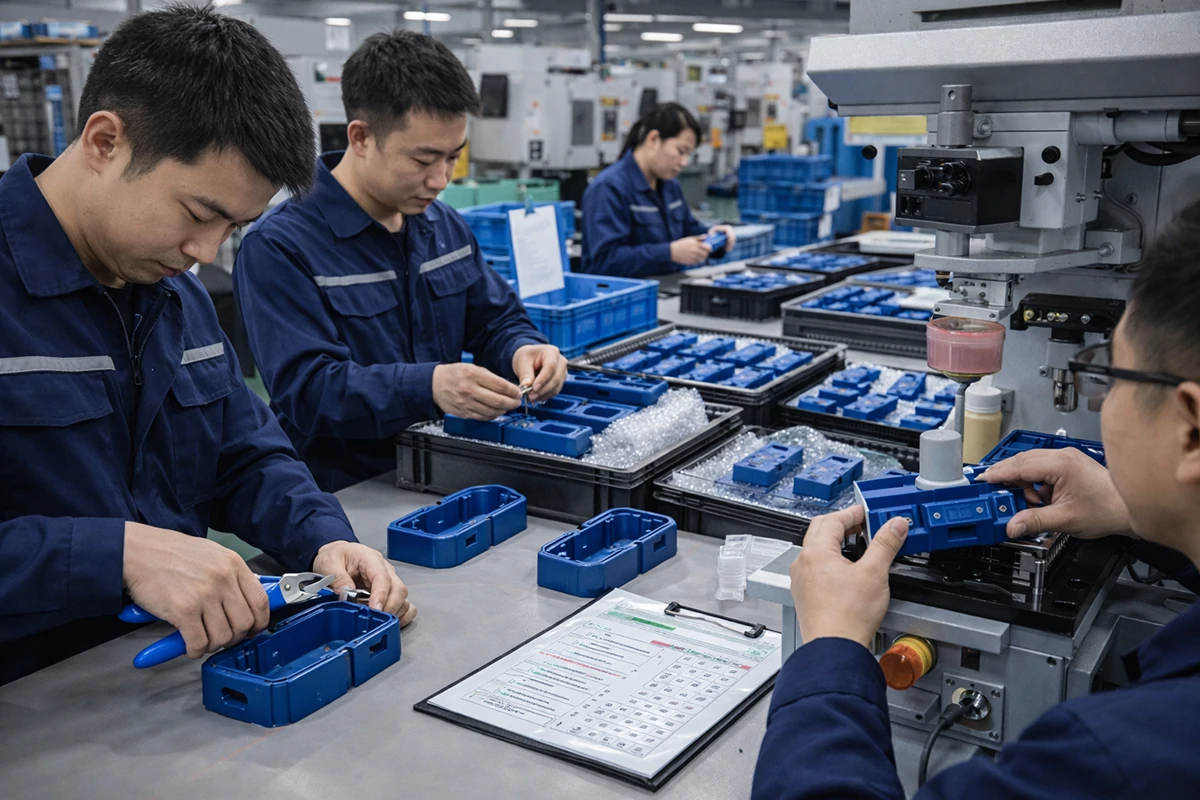
Some of the parts are molded, after which they are complete and ready to pack, whereas others need further work.
This can be gate trimming, deflashing, deburring, insert assembly, ultrasonic welding, pad printing, painting, labeling, or any other secondary process, depending on the product. Cosmetic handling or protective packaging might also be necessary in some parts, in case appearance on the surface is necessary. References about molded parts observe that post-processing of the molded parts may involve little finishing or further processing, according to the use.
| Secondary Operation | Simple Description |
|---|---|
| Trimming | Removes extra plastic from gates or edges to give the part a cleaner final shape. |
| Deburring | Removes small burrs or rough edges that may affect appearance or assembly. |
| Ultrasonic Welding | Joins two plastic parts together using high-frequency vibration. |
| Pad Printing | Adds logos, text, or graphics to small or uneven plastic surfaces. |
| Laser Marking | Creates permanent text, numbers, or codes on the part surface. |
| Painting | Applies a coating to improve color, appearance, or surface protection. |
| Assembly | Combines molded parts with other components into a finished product. |
| Insert Installation | Adds metal inserts or other functional parts to improve fastening or performance. |
| Inspection | Checks the molded parts for dimensions, appearance, or function before shipment. |
| Packaging | Packs the finished parts for protection, storage, and delivery. |
13) Step 13: Final Inspection, Packaging, and Delivery
The parts are normally packed and inspected before they are shipped.
The scope of the actual inspection will be determined by the customer’s expectations and the product. Certain projects require rudimentary dimensional and look checks. Others might need sampling plans, assembly verification, or documented inspection records. The process also involves packaging. Scratch-prone or clean presentation parts cannot just be packed like other robust industrial parts.
After the inspection and packaging have been done, the finished components are shipped to the customer. On the surface, this can be seen as a termination of the project. Actually, it is a transformation of all that preceded it: design analysis, material choice, tooling, optimization of trials, process control, and finishing.
2. What Factors Can Affect the Overall Injection Molding Process?
The variables that may influence a full injection molding project are numerous, but most of them belong to five categories.
First is part design. Geometry influences the fill behavior, cooling, ejection, and complex mold. Thick sections, sharp transitions, and undercuts are features that may complicate production.
Second is material choice. Dissimilar materials possess dissimilar molding conduct, contraction traits, and molding process ranges. That has an effect on the tooling strategy and the production environment.
Third is mold quality. The efficient filling, cooling, venting, and ejection are facilitated by a mold that is well-designed and built. A close build or weak mold may cause recurrent production issues in the future.
Fourth is process control. The temperature of the melt, the temperature of the mold, the pressure of the injection, the pressure of the holding, and the time of cooling all affect the form of the part. These are not minor settings. They play a key role in shaping the stability and quality of parts.
Fifth is the production requirement. Strict tolerance, cosmetic requirements, regulatory requirements, and yearly volume are some of the factors that influence the management of the project. An injection-molded part may be either a simple utility part or a high-appearance consumer part, yet they are not managed in the same manner.
3. Why Understanding the Full Process Matters for Buyers
When buying an injection-molded part, it is best to know the entire process to be able to ask the right questions.
It makes you see why this supplier takes a long time to go through DFM review, and another supplier gives a quote instantly. It can make you understand the importance of tooling lead time, the importance of sample approval as a key milestone, and how stable production is not just about machine capacity.
It also assists you in assessing suppliers in a more realistic manner. The ability to operate molding machines is not the only trait of a good supplier. They must be in a position to check part manufacturability, select an appropriate material route, construct or control the mold appropriately, make trial runs, stabilize production, and regulate quality via delivery.
On our part, this is what makes us view the injection molding process as a full manufacturing process and not a machine operation. Just take a look at the molding cycle, and you can see the plastic is shaped into a part. When you look at the entire process, you will get to know how a project is turned into a trusted product.
4. Plastic injection molding process FAQs
Q1: What is the full plastic injection molding process?
A: It usually involves the part requirement review, design-for-manufacturing review, material selection, mold design, mold building, trial molding, sample approval, mass production, secondary operations where required, final inspection, and delivery.
Q2: How does a plastic injection molding project usually start?
A: It generally begins with the part requirements. The customer will give a drawing, a 3D file, a sample, or a product idea, and the supplier will analyze whether it can be molded using the injection method and what the method of production will be.
Q3: Why is mold design so important in injection molding?
A: Since the mould determines the filling, cooling, and releasing behaviour of the material. Quality and production stability are influenced by the gate layout, cooling design, venting, cavity structure, and ejection design.
Q4: When does trial molding happen?
A: The trial molding occurs when the mold is constructed and mounted on the machine. It is utilized to make the initial molded samples, check the process, and make any adjustments that may be required, then proceed with mass production.
Q5: What happens after injection molding is completed?
A: The parts can then be subjected to trimming, inspection, assembly, printing, packaging, or any secondary processes, depending on the product after molding. There are certain ones that require minimal post-processing, and others that require more.
Q6: How can buyers evaluate an injection molding supplier?
A: It is best to begin by considering more than price. You need to examine their DFM support and their tooling knowledge, their process control, their sampling strategy, their quality control, and their capability to maintain their production consistent with time.
5. Conclusion
The plastic injection molding process is not only the event when heated plastic is injected into the mold. In a practical manufacturing project, it is a complete cycle that begins with the requirements and design review of parts, proceeds to selection and mould creation of materials, and culminates in production, inspection, and delivery.
When you know that entire process, you are in a better position to know what influences quality, lead time, consistency, and manufacturability. To the buyers, that simplifies the process of supplier evaluation. In the case of product teams, it can be seen that it simplifies project communication. And on the part of any business that obtains molded plastic parts, it results in superior decisions at the outset.

Leave A Comment